How to Build a Cryptomining Rig
August 21, 2019
What Fits Your Goal? Containers vs. Virtual Machines
August 27, 2019There are many problems that computers can deal with regularly. One of the most annoying ones may be a network issue. There are a lot of things you can do on a computer without an Internet connection, but there are also many things you need an Internet connection for. We will break down the different steps one should take to troubleshoot your network connection. We will also list some tools that help in this process as well.
Common Network Problems
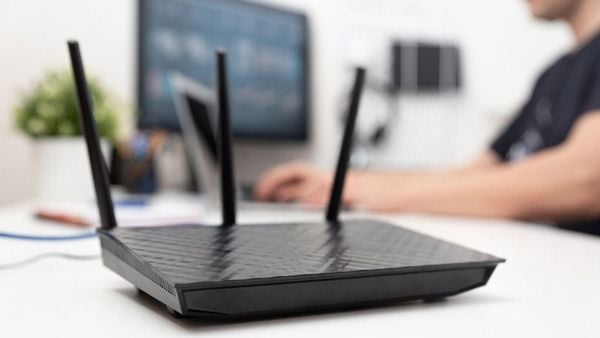
There are certain network issues that are common than others. The first one is the IP Address and Network Card issues. Two computers being assigned the same IP address could potentially cause this problem. The network card helps computers link, which is another reason you may be having problems with connecting to the Internet.
Another issue could be network related. Certain areas are hard to reach with Wi-Fi. Sometimes radio signals aren’t strong enough in certain areas. Making sure your router is in a good central location.
The absence of Connectivity or slow-moving connectivity is also common network problems. Sometimes bigger file transfers can bring down the speed of your connection.
Drop-in Internet connections can be another cause of network issues. Check your signal strength on your router, and if everything seems fine here, it may be an internal problem.
Lastly, Firewall settings can also be one of the reasons you are having trouble with your network.

How to Troubleshoot Network Issues (Step-by-Step)
Before troubleshooting the network, we first suggest checking if it’s a network problem. Sometimes it may not be a network problem at all. In some cases, the problem could be with specific sites. Let’s say you are having problems loading Facebook, check if other sites are working properly. If it is, it is probably a problem with a single site.
The first step is to power cycle everything and checks your other devices. It might be as simple as rebooting your device so it can reconnect with the network. Restarting your device can fix many issues. If you played video games when you were younger (or maybe you’re like myself and still do), I’m sure you tried turning your gaming system off and on when it wasn’t working, and somehow magically it worked after that. This should be your first plan of action when troubleshooting.
Once you’ve restarted your device, try connecting another device as well. If you are having trouble connecting other devices, it could be an equipment issue or your Internet service provider. If you find that it’s just one device that’s having problems, you can start narrowing down the problem from here.
Next, check your firewall settings to see if it’s blocking the Internet connection. Running an anti-virus scan can also confirm your computer does not have any malware affecting the connection. Lastly, try using a different Internet browser to see if something wrong with your default browser.
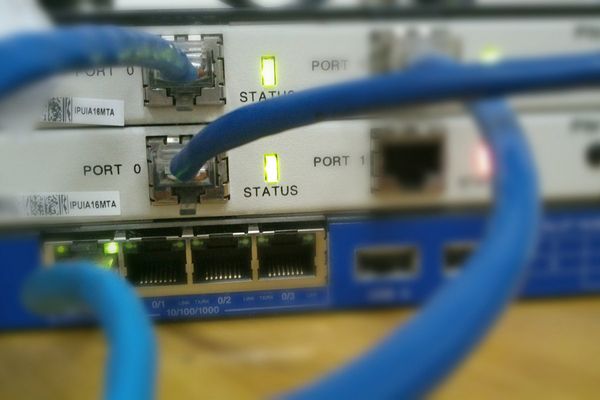
The second step is to check your physical connections. If you are still having network problems after rebooting your system, the next step is just as easy and simple. Make sure your physical connections are still plugged in and aren’t damaged. If you are using an Ethernet cable to connect your router, there might be a physical wireless switch, make sure that is switched to on.
At this point, make sure all the lights are flashing the way they should (many routers and modems have a green flashing light indicating it’s connected properly. If the lights aren’t blinking the correct color (or no color at all), your device may be dead. If the light is red, it may be a problem with the ISP.
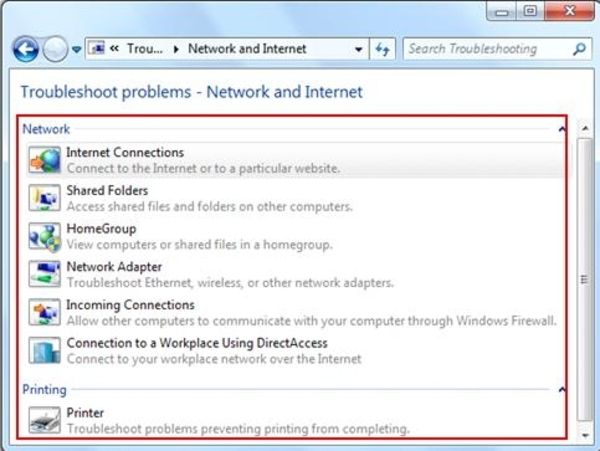
The third step is to run the Windows network troubleshooter program. There are built-in troubleshooter programs that are included in Windows. These programs can automatically search for and fix issues within your system. Try running the program, and if it finds and fixes the problem, it will let you know. If it does, try connecting to the network again. Some of the best network troubleshooting programs are free and easy to use.
The fourth step is to check for a valid IP address. If you’ve gone through all of these steps and you are still having trouble connecting to the network, you will need to specifically locate the exact spot where the connection is failing.
In this step, make sure your device isn’t set to any abnormal IP settings. Under Settings, to go Network & Internet Status. At the bottom of the menu, click on Change adapter options and click on the name of your network. When the status box appears, click on the Properties button. After you have done this, click on Internet Protocol Version 4. Make sure the Obtain an IP address automatically and Obtain DNS server addresses automatically are both checked. Follow these same steps for Internet Protocol Version 6 as well.
After these steps, review the validity of your IP Address. Type “cmd” into the start menu to open the Command prompt window and enter “ipconfig.” Next, look for Ethernet adapter or Wireless LAN adapter. If it says you are not receiving a valid IP address from your router, and it says 169.x.x.x, there are two commands that will release your computer’s current IP address and request a new one—ipconfig / release and ipconfig / renew.
If this doesn’t work after a couple of attempts, try connecting your computer directly to the modem by an Ethernet cable. If this works and you are online, the problem is your router.
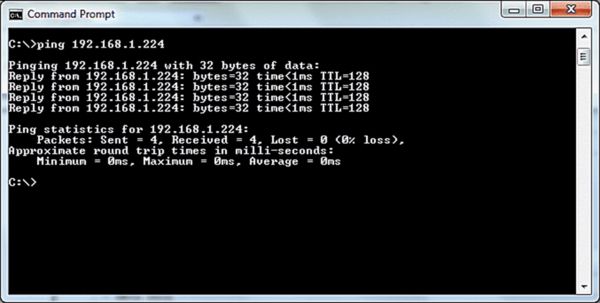
The fifth step will be trying to Ping and Trace its Route. If your IP doesn’t begin with 169 (when you run ipconfig), you know you have a valid IP address from your router. This means the failure is happening between the router and the Internet. Pinging and tracing the route will be the next step.
To ping a computer by IP address, open a shell prompt by entering Command Prompt or MS-DOS Prompt on the Start menu. Next type “ping” followed by space and then the IP address. Press the enter/return key.
Microsoft windows ping will send a series of four messages to the address. You will receive a confirmation line for each response. Bytes, Time it takes to respond, and TTL (Time-to-Live). If this fails, check to see where the problem is occurring. If the failure is happening early in the route, the problem is most likely happening within your local network.

The sixth and final step is to contact your Internet Service Provider. If you’ve reached this step, this means your equipment is working fine, and you have a valid IP address from the router. You have also confirmed that the issue is happening outside of the network for multiple devices. While you are contacting your ISP, you can also check an outage map on your smartphone by going to downtector.com. This may give you information if there are known problems in your area.
Once you have contacted your ISP, waiting until they fix the problem may be your only choice left. You have completed all the steps and can confirm the problem isn’t something you can fix so all you can do is wait.

Conclusion
Problems connecting to your network can be one of the most frustrating things, especially if you are working on the computer often. Understanding the common connectivity issues can be beneficial when it comes to troubleshooting. There are some good tools you can use to narrow down your network problems. And if you are still having trouble getting yourself online, follow the steps above to get your computer back up and running.
